
James – Work Experience – Video2
August 30, 2018
James – Work Experience – Video3
September 3, 2018
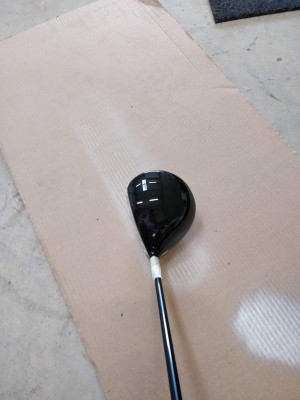
Project - Spruce up Golf Driver
I love my current driver - a Taylormade r7 425, however it was looking a bit tired next to all the next (and expensive) drivers out there.
With RENU ACTION Paint I have the opportunity to create something new without worrying I will ruin my lovely club (which s just as well as I did need 2 attempts to get it right).
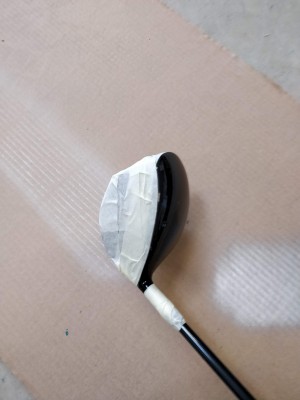
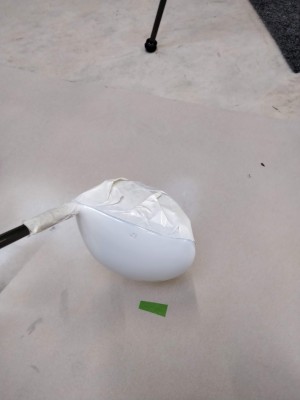
Masking Tape over areas not painted
While ACTION PAINT over-spray is simple to remove I wanted nice clean edges so used masking tape to cover the rest of the club.
Getting ready to paint
Once taped up I am now ready to paint. Nice clean steady strokes to give nice coverage.
Oh no... fingerprint in paint
Oh no... while removing the masking tape (a bit too early) I left a fingerprint in the paint. With every other paint this would eb a nightmare but with ACTION PAINT... remove!
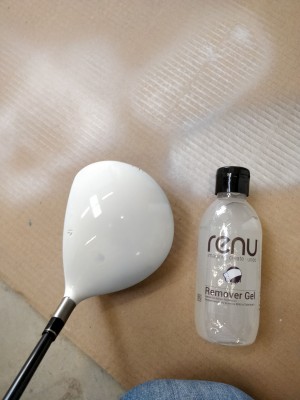
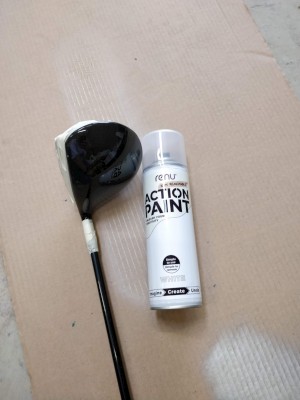
Getting ready to remove
I get the RENU Remover GEL and prepare to remove
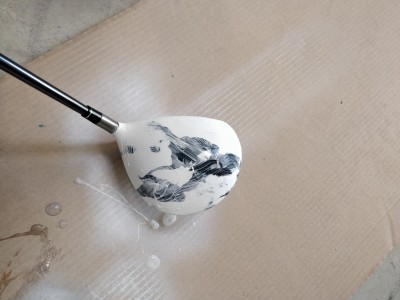
Apply remover
I apply remover to the club and let it soak in for a minute or so. The photo above shows what happens when I agitate with a brush... you can see where the initial remover was applied before I spread it about.
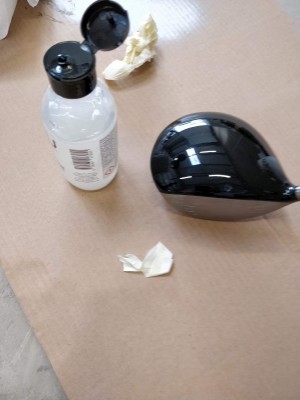
Paint remover - take 2
After less than 2 minutes the clubhead is cleaned and ready for another attempt. Note: ensure that the clubhead is washed of all the remover before starting to paint again.
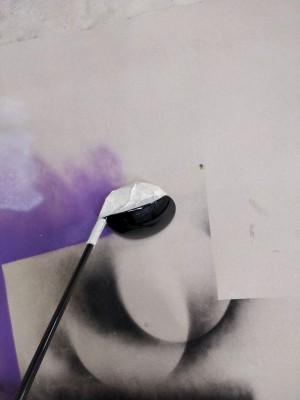
Take 2 - more masking tape
I noticed some rubbish edges on the first attempt so I use a better quality masking tape for the second attempt.
Take 2 - painted
Nice slow and clean strokes to give a nice finish
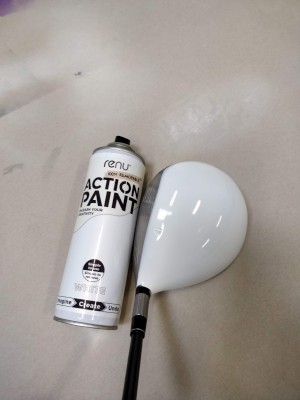
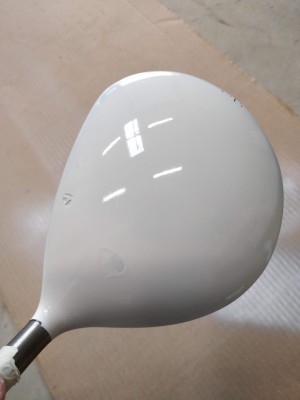
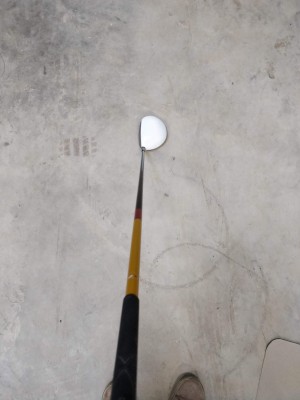
Take 2 - finished
Now that looks lovely... I will leave it 24hours before hitting balls... but its ready!! and looks better than new.


